Note:

During the firmware upgrade process, the device may fail to boot due to incomplete firmware files, incompatible MicroSD cards, unexpected power loss, or removal of the MicroSD card for unknown reasons.
This guide is intended to address the issue of failure to boot after firmware upgrades.

It is essential to strictly follow each step in this guide sequentially to restore the device to normal operation.


Step 1.

Connect the P-1 MarkII to the charger via a MicroUSB cable and keep it connected for at least
30 minutes.

* This step is to charge the internal battery. During this process,
the status indicator light may not turn on, which is normal. Please be patient.


Step 2.

Replace the MicroSD card with one that is in good working condition (recommended size: below 32GB), and format it to FAT32 format under a Windows operating system.
The previous MicroSD card may have issues, so it is not recommended to reuse it, as it may lead to another upgrade failure.

* Please refer to: How to Select the correct MicroSD Card >

Step 3.

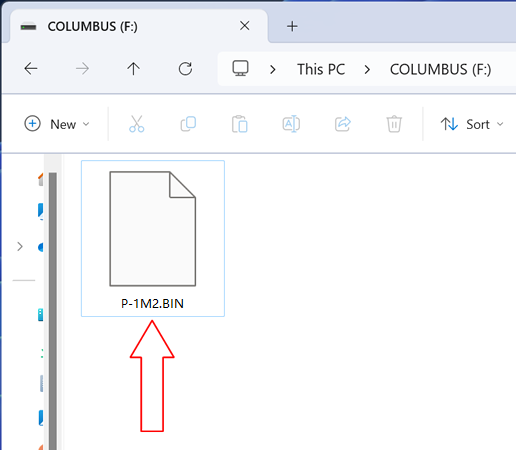
Copy the firmware file "P-1M2.BIN" to the root directory of the MicroSD card. Ensure that the MicroSD card contains only this file.
Note: The filename must be "
P-1M2.BIN" with the extension ".BIN". If it has a different name, such as "P-1M2.BIN", the device will not recognize it correctly.

Step 4.

Insert the MicroSD card into the device.

Step 5.

Simultaneously press and hold the "Power Button" and the "POI Button". With a pin, press the reset hole at the bottom once, and continue holding the "Power Button" and the "POI Button" until you hear three beeps. Only then can you release the "Power Button" and the "POI Button".

* This step is recommended to be performed with the cooperation of two people.

Step 6.

At this point, the three indicator lights will start flashing sequentially. After approximately 1 minute, the device will emit a long beep and shut down, indicating a successful firmware upgrade.

* If after hearing the long beep, the device experiences any of the following: does not shut down automatically, indicator lights remain on, cannot power on, please press the reset button at the bottom again with a pin.

Step 7.

Long press the power button, and the device will start up normally.

Note:

Any device that has failed during the firmware upgrade process can be restored to normal through the above operations.
If it still cannot be repaired, it is speculated that there may be other problems simultaneously, such as burned charging circuits, battery failures, circuit board issues, button malfunctions, etc.